
okhttp3 源码初探
使用范例
val client = OkHttpClient()
        val request: Request = Request.Builder()
            .url("<https://api.github.com/users/octocat/repos>")
            .build()
        client.newCall(request).enqueue(object : Callback {
            override fun onFailure(call: Call, e: IOException) {}
            override fun onResponse(call: Call, response: Response) {
               runOnUiThread {
                   Toast.makeText(this@MainActivity,"code: ${response.code()}",Toast.LENGTH_SHORT).show()
               }
            }
        })
从enqueue这个方法入手,了解okhttp是如何发起请求与响应
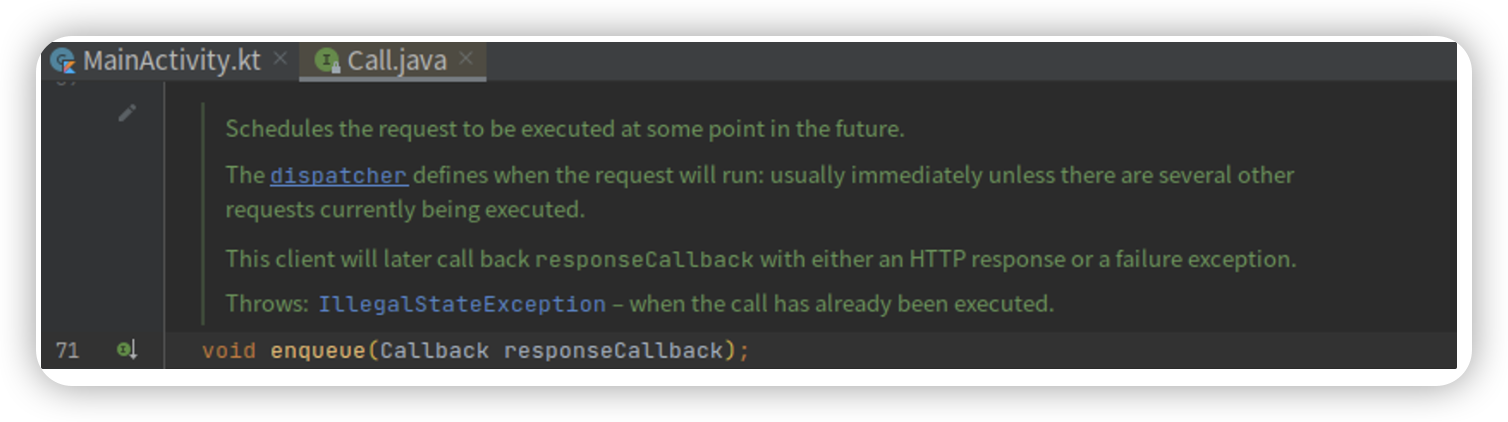
1.发现是个接口,看看newCall的enqueue
static RealCall newRealCall(OkHttpClient client, Request originalRequest, boolean forWebSocket) {
    // Safely publish the Call instance to the EventListener.
    RealCall call = new RealCall(client, originalRequest, forWebSocket);
    call.transmitter = new Transmitter(client, call);
    return call;
  }
2.发现是个RealCall,参数分别是我们在外面声明的 client,request,forWebSocket,fowWebSocket可以先不用管,这块业务我们基本用不到,是浏览器与服务器的双向通信,服务器可以通知浏览器做一些页面刷新
3.追踪RealCall的enqueue
@Override public void enqueue(Callback responseCallback) {
    synchronized (this) {
      if (executed) throw new IllegalStateException("Already Executed");
      executed = true;
    }
    transmitter.callStart();
    client.dispatcher().enqueue(new AsyncCall(responseCallback));
  }
关键代码只有一行
client.dispatcher().enqueue(new AsyncCall(responseCallback));
这个responseCallback就是我们在外面传进来的callback,因为我们主要也是调用这么方法么
4.追踪dispatcher的enqueue
void enqueue(AsyncCall call) {
    synchronized (this) {
      readyAsyncCalls.add(call);
<pre><code>  // Mutate the AsyncCall so that it shares the AtomicInteger of an existing running call to
  // the same host.
  if (!call.get().forWebSocket) {
    AsyncCall existingCall = findExistingCallWithHost(call.host());
    if (existingCall != null) call.reuseCallsPerHostFrom(existingCall);
  }
}
promoteAndExecute();
}
private boolean promoteAndExecute() { assert (!Thread.holdsLock(this));
List<AsyncCall> executableCalls = new ArrayList<>();
boolean isRunning;
synchronized (this) {
  for (Iterator<AsyncCall> i = readyAsyncCalls.iterator(); i.hasNext(); ) {
    AsyncCall asyncCall = i.next();

    if (runningAsyncCalls.size() >= maxRequests) break; // Max capacity.
    if (asyncCall.callsPerHost().get() >= maxRequestsPerHost) continue; // Host max capacity.

    i.remove();
    asyncCall.callsPerHost().incrementAndGet();
    executableCalls.add(asyncCall);
    runningAsyncCalls.add(asyncCall);
  }
  isRunning = runningCallsCount() > 0;
}

for (int i = 0, size = executableCalls.size(); i < size; i++) {
  AsyncCall asyncCall = executableCalls.get(i);
  asyncCall.executeOn(executorService());
}

return isRunning;
}
5.我们发现先是把call放进了readyAsyncCalls队列,在从readyAsyncCalls的迭代器中过滤出合适的call,放进executableCalls里面,便利执行他们executeOn方法,其中过滤条件有,最大连接数,和最大主机连接数,这些我们暂时先不理,看看executeOn
void executeOn(ExecutorService executorService) {
assert (!Thread.holdsLock(client.dispatcher()));
boolean success = false;
try {
executorService.execute(this);
success = true;
} catch (RejectedExecutionException e) {
InterruptedIOException ioException = new InterruptedIOException("executor rejected");
ioException.initCause(e);
transmitter.noMoreExchanges(ioException);
responseCallback.onFailure(RealCall.this, ioException);
} finally {
if (!success) {
client.dispatcher().finished(this); // This call is no longer running!
}
}
}</p>
<p>final class AsyncCall extends NamedRunnable</p>
<p>public abstract class NamedRunnable implements Runnable {
protected final String name;</p>
<p>public NamedRunnable(String format, Object... args) {
this.name = Util.format(format, args);
}</p>
<p>@Override public final void run() {
String oldName = Thread.currentThread().getName();
Thread.currentThread().setName(name);
try {
execute();
} finally {
Thread.currentThread().setName(oldName);
}
}</p>
<p>protected abstract void execute();
}</p>
<p>@Override protected void execute() {
boolean signalledCallback = false;
transmitter.timeoutEnter();
try {
Response response = getResponseWithInterceptorChain();
signalledCallback = true;
<strong>responseCallback.onResponse(RealCall.this, response);</strong>
} catch (IOException e) {
if (signalledCallback) {
// Do not signal the callback twice!
Platform.get().log(INFO, "Callback failure for " + toLoggableString(), e);
} else {
responseCallback.onFailure(RealCall.this, e);
}
} catch (Throwable t) {
cancel();
if (!signalledCallback) {
IOException canceledException = new IOException("canceled due to " + t);
canceledException.addSuppressed(t);
responseCallback.onFailure(RealCall.this, canceledException);
}
throw t;
} finally {
client.dispatcher().finished(this);
}
}
}
6.到此我们追踪就基本结束了,getResponseWithInterceptorChain里面完成了http的请求与响应,里面具体做了什么,我们下回分解,
executorService 做了线程切换,responseCallback回调回来已经不是主线程了,更新ui记得把线程切回来


评论区